How to Start an Indoor Herb Garden
- Alex Brooke
- Aug 26, 2024
- 9 min read
Updated: Feb 23
Ah, the joys of cooking with fresh herbs! There’s something truly special about adding that sprinkle of parsley or pinch of basil to elevate your dish from ordinary to extraordinary. And the best part? You don’t need a green thumb or a sprawling backyard to grow your own herbs. I’m thrilled to share with you my tips and tricks for starting an indoor herb garden, perfect for beginners and seasoned cooks alike. With just a few simple steps, you’ll be harvesting your own fragrant herbs in no time, and I’m excited to guide you every step of the way!

Preparing for Your Indoor Herb Garden
To begin your indoor herb gardening journey, you’ll need to lay the groundwork for success. In this chapter, we’ll cover the crucial steps to prepare for your indoor herb garden, from selecting the right herbs to choosing the perfect containers and soil.
Choosing the Right Herbs for Indoor Growing
Preparing your herb selection is crucial to the success of your indoor garden. When dicking out herbs for indoor growing, I consider those that thrive in partial shade to full sun and can tolerate indoor temperatures between 65-75°F (18-24°C). You’ll want to choose herbs that are compact or dwarf varieties, which are specifically bred for indoor growing. Some popular herbs for indoor gardens include basil, mint, parsley, rosemary, and thyme. These herbs are not only easy to grow but also add fresh flavor to a variety of dishes. When dicking out herbs, I also think about the amount of maintenance I’m willing to commit to. Some herbs, like basil, require more frequent watering and pruning, while others, like rosemary, are more low-maintenance. Consider your lifestyle and choose herbs that fit your schedule and preferences.
Selecting the Perfect Containers and Soil
Indoor herb gardens require containers that provide good drainage and aeration for the roots. I recommend using pots with holes in the bottom or a well-draining potting mix to prevent waterlogged soil. You’ll also want to choose containers that fit your space and style, from modern planters to vintage tea cups. Choosing the right soil is equally important. Look for a high-quality potting mix specifically designed for indoor plants. Avoid using soil from your outdoor garden, as it can compact and prevent proper drainage. A good potting mix will retain moisture but also drain excess water, preventing root rot and ensuring healthy growth. In addition to selecting the right containers and soil, consider the overall aesthetic you want to achieve with your indoor herb garden. Do you prefer a modern, sleek look or a more rustic, vintage vibe? Think about the colors, textures, and styles that will complement your space and reflect your personal taste. By choosing the right containers and soil, you’ll be well on your way to creating a thriving indoor herb garden that brings joy and freshness to your kitchen.
Creating the Ideal Environment
The success of your indoor herb garden largely depends on providing the right environment for your plants to thrive. In this chapter, we’ll explore the vital factors to consider when creating an ideal setting for your herbs.
Lighting Requirements for Indoor Herbs
For optimal growth, most herbs require bright, indirect light. Placing your herb garden near a sunny window or using grow lights can provide the necessary illumination. However, it’s vital to note that direct sunlight can be too intense and may cause your herbs to become scorched or wilted.
When choosing a location for your herb garden, consider the direction of the sunlight. East- or west-facing windows are ideal, as they receive gentle, indirect light. If you’re using grow lights, ensure they’re positioned at the correct distance from your plants to avoid overheating.
Maintaining Optimal Temperature and Humidity
Temperature and Humidity Requirements
With these temperature and humidity requirements in mind, you can create an environment that caters to the specific needs of your herbs. I recommend keeping your herb garden away from heating vents, radiators, and air conditioning units, as they can disrupt the ideal temperature and humidity levels.
By providing the right amount of light, temperature, and humidity, you’ll be well on your way to growing a thriving indoor herb garden. Be mindful of, every herb is unique, so be sure to research the specific needs of each variety to ensure you’re giving them the best possible start.
Planting and Watering Your Herbs
One of the most exciting steps in starting your indoor herb garden is planting and watering your herbs. This is where you get to see your hard work come to life, and with a little care and attention, your herbs will thrive.
Sowing Seeds or Transplanting Seedlings
With your pots and soil ready, it’s time to plant your herbs. If you’re starting from seeds, make sure to follow the package instructions for the correct depth and spacing. I like to gently press the seeds into the soil, making sure they’re firmly in place. Then, cover them with a thin layer of soil and give them a gentle watering. If you’re transplanting seedlings, simply dig a small hole in the soil, gently remove the seedling from its pot, and place it in its new home. Firm the soil around the roots to secure it in place. As you plant, remember to handle the roots with care. You want to disturb them as little as possible to ensure your herbs get off to a strong start. I like to think of it as giving them a warm welcome to their new home.
Watering Techniques for Healthy Herb Growth
Sowing the seeds of success (pun intended!) also means providing your herbs with the right amount of water. Overwatering is one of the most common mistakes when it comes to indoor herb gardens, so it’s important to get it just right. I recommend watering your herbs when the top inch of soil feels dry to the touch. This will encourage deep root growth and prevent waterlogged soil. A good rule of thumb is to water your herbs in the morning, so the pot has a chance to drain excess water throughout the day. You can also check the moisture level by sticking your finger into the soil up to the first knuckle. If it feels dry, it’s time to water! And here’s a little extra tip: when you do water your herbs, make sure to water them thoroughly. I like to think of it as giving them a good drink, rather than just a sip. This will encourage healthy growth and prevent them from becoming stressed.
Caring for Your Indoor Herb Garden
Now that your indoor herb garden is up and running, it’s vital to provide the necessary care to keep your herbs thriving. With a little attention and TLC, you’ll be enjoying fresh, fragrant herbs all year round.
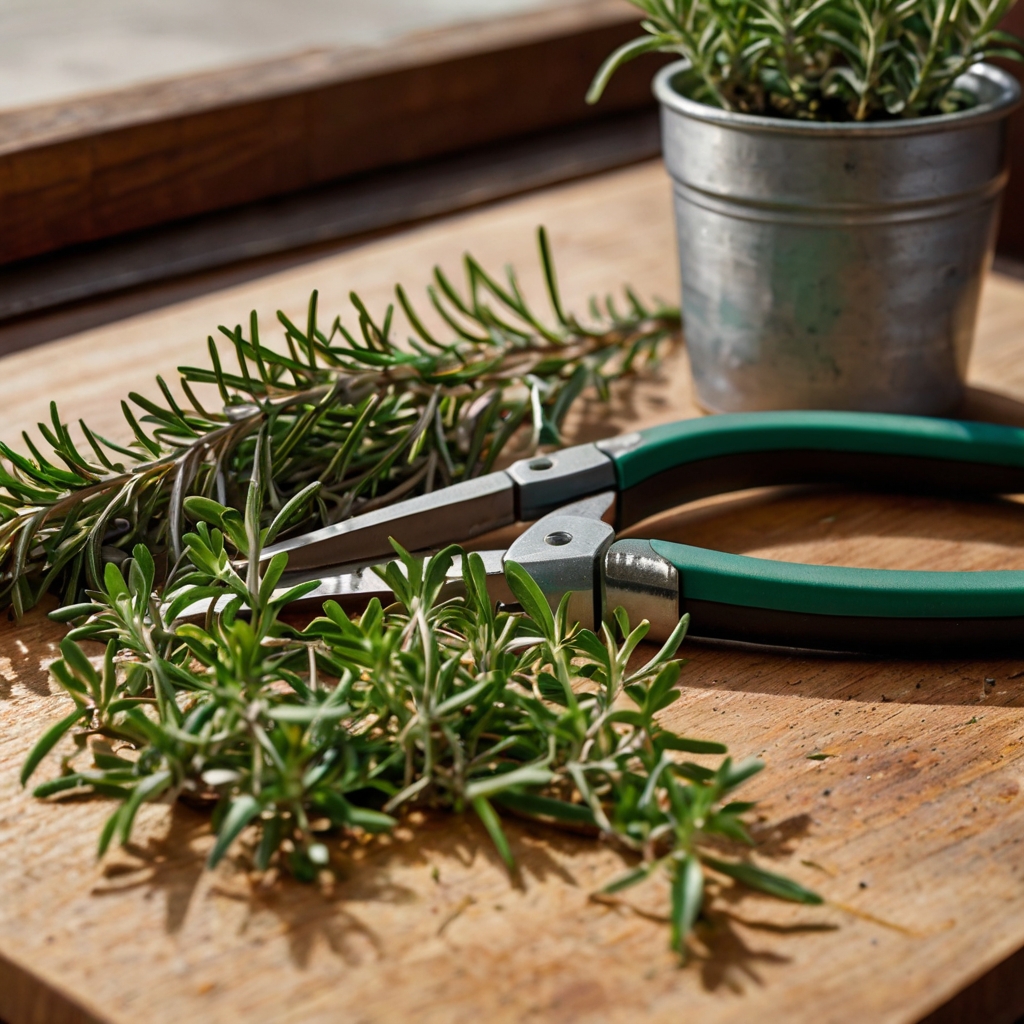
Fertilizing and Pruning Your Herbs
The secret to healthy, lush herbs lies in regular fertilization and pruning. I like to fertilize my herbs once a week with a balanced, water-soluble fertilizer. This ensures they receive the necessary nutrients to grow strong and flavorful. As far as pruning, I make it a habit to trim off any leggy stems or dead leaves. This not only keeps my herbs looking tidy but also encourages bushy growth and prevents them from becoming too woody. As you prune, be sure to harvest any usable leaves or stems to add fresh flavor to your cooking. I love using my pruned herbs in soups, salads, and sauces – it’s a great way to make the most of your indoor garden. Be mindful of, pruning is an vital part of herb care, so don’t be afraid to get snipping!
Pest Control and Common Problems
Pruning regularly can also help prevent pest problems, as it allows you to catch any issues early on. Keep an eye out for signs of pests like spider mites, mealybugs, or aphids, and take action quickly if you spot any. I’ve found that a gentle insecticidal soap or neem oil can work wonders in eliminating these pesky critters. Herbs are generally hardy plants, but they can still fall victim to common problems like overwatering or underwatering. To avoid these issues, make sure to check the soil moisture regularly and adjust your watering schedule accordingly. If you do encounter any problems, don’t panic! With a little patience and TLC, your herbs will bounce back in no time.
Harvesting and Enjoying Your Fresh Herbs
Your indoor herb garden is thriving, and now it’s time to reap the rewards! Harvesting your fresh herbs is an exciting step, and with a few simple tips, you’ll be enjoying their flavors and aromas in no time.
When to Harvest Your Indoor Herbs
In-house herb gardens, like yours, require regular harvesting to encourage bushy growth and prevent the plants from flowering. Pinch or cut off individual leaves or stems as needed, or harvest a larger quantity to use in cooking. I like to harvest my herbs in the morning, after the dew has dried but before the heat of the day sets in.
Keep an eye on your plants’ growth patterns, and harvest accordingly. For example, basil and mint tend to grow quickly, so I harvest them every few days to maintain their shape and promote new growth. On the other hand, slower-growing herbs like rosemary and thyme may only need to be harvested every week or two.
Tips for Using Fresh Herbs in Cooking
Incorporating fresh herbs into your cooking is a game-changer, and I’m excited to share some of my favorite tips with you!
Add fresh herbs to soups, stews, and braises towards the end of cooking to preserve their delicate flavors.
Use fresh herbs as a garnish for cocktails, salads, and entrees to add a pop of color and freshness.
Mix chopped fresh herbs into sauces, marinades, and dressings for added depth of flavor.
Any herb can be used to make a flavorful oil or vinegar by infusing it in a neutral oil or vinegar for a few weeks.
With fresh herbs at your fingertips, the possibilities are endless! I love experimenting with different herb combinations to create unique flavor profiles. Try pairing basil with lemon and garlic for a bright, summery taste, or combine rosemary with olive oil and garlic for a savory, herby flavor. Any herb can be used to elevate a dish, so don’t be afraid to get creative and try new things!
Chop fresh herbs finely and mix with butter or cream cheese for a delicious spread.
Use fresh herbs to make herbal teas, like peppermint or chamomile, for a soothing, caffeine-free drink.
Add fresh herbs to your favorite smoothie or juice recipe for an extra boost of flavor and nutrition.
Any herb can be frozen or dried to preserve it for later use, so don’t worry if you have an abundance – just save it for another day!
Troubleshooting Common Issues
Not every indoor herb garden is perfect, and I’m sure you’ll encounter some issues along the way. But don’t worry, I’m here to help you troubleshoot and overcome them!
Dealing with Pests and Diseases
Pests and diseases can be a real nuisance in your indoor herb garden. Check your plants regularly for signs of infestation or infection, such as white powdery patches, tiny eggs, or actual pests crawling around. If you notice any of these, isolate the affected plant immediately to prevent the problem from spreading. Then, treat the plant with insecticidal soap or neem oil, and make sure to remove any infected leaves or stems. I also recommend practicing good hygiene when handling your plants, such as washing your hands before and after touching them, and disinfecting your pruning tools regularly. This will help prevent the spread of diseases and keep your plants healthy and thriving.
Reviving Wilting or Dying Herbs
Dealing with wilting or dying herbs can be frustrating, but don’t give up hope just yet! First, check the soil moisture by sticking your finger into the soil up to the first knuckle. If the soil feels dry, give your herb a good watering. Make sure not to overwater, though, as this can be just as detrimental. If your herb is still looking limp, try pruning it back to about half its size. This will help the plant focus its energy on regrowing healthy stems and leaves. You can also try providing your herb with more light, or moving it to a cooler location if it’s been exposed to direct sunlight for too long. For instance, I once had a basil plant that was looking particularly sad, with wilted leaves and a droopy stem. I pruned it back, gave it a good watering, and moved it to a spot with bright indirect light. Within a week, it was looking lush and healthy again, and I was able to harvest fresh basil leaves for my favorite recipes!
Summing up
I hope I’ve inspired you to take the leap and start your very own indoor herb garden! With these simple steps, you’ll be snipping fresh basil for your caprese salad and sprinkling parsley on your soups in no time. Be mindful of, it’s all about creating a cozy little home for your herbs, providing them with the right amount of light, water, and love. And don’t worry if things don’t go exactly as planned at first – it’s all part of the process, and I’m sure you’ll learn and adapt as you go along.
As I look at my own indoor herb garden, I’m reminded of the joy and satisfaction that comes from watching something you’ve nurtured grow and thrive. Your herbs will bring flavor and freshness to your cooking, but they’ll also bring a sense of accomplishment and pride to your daily routine. So go ahead, take the first step, and start planting those seeds! I have no doubt that you’ll be delighted with the results, and before you know it, you’ll be hooked on the magic of indoor herb gardening.
Comments